
.png)
Transform Your Look with a Lash Lift and Tint
- browsketcher
- Nov 3, 2025
- 4 min read
Updated: Nov 25, 2025
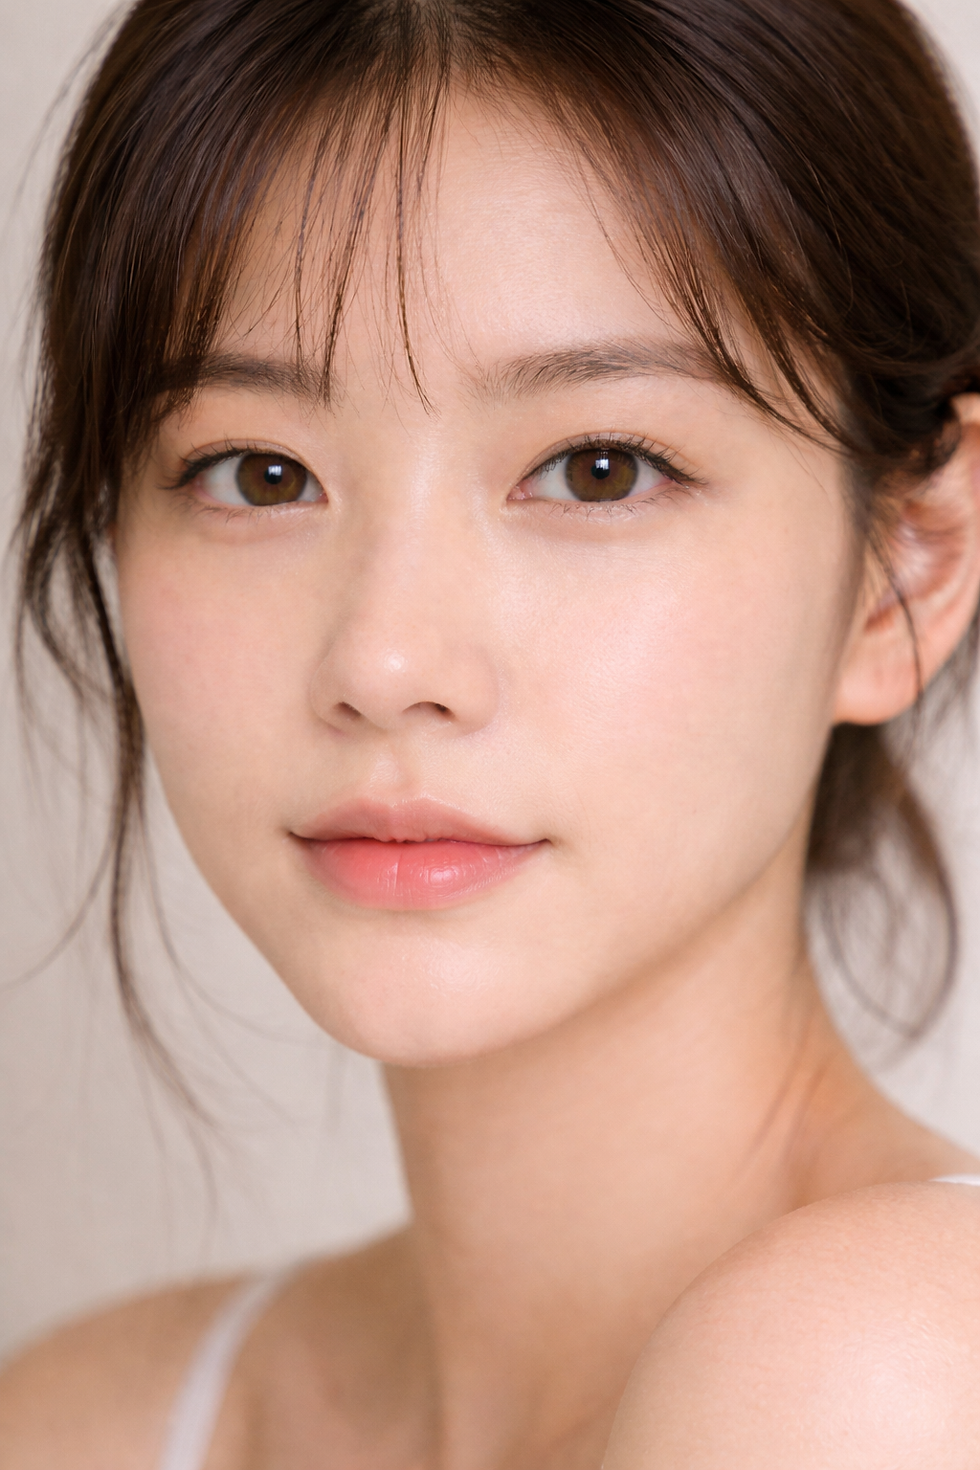
If you want to elevate your natural beauty without the hassle of daily makeup routines, eyelash enhancement techniques are your new best friend. I’ve discovered how a simple treatment can make your eyes pop and save you time every morning. One of the most popular and effective methods is the lash lift and tint. It’s a game-changer for anyone looking to enhance their lashes effortlessly.
Let me walk you through everything you need to know about these techniques, how they work, and why they might be the perfect beauty upgrade for you.
What Are Eyelash Enhancement Techniques?
Eyelash enhancement techniques are beauty treatments designed to improve the appearance of your natural lashes. They can make your lashes look longer, fuller, and darker without the need for extensions or mascara. These techniques include lash lifts, tints, and sometimes even semi-permanent makeup options.

Here’s a quick breakdown:
Lash Lift: This treatment curls your natural lashes from the base, giving them a lifted, wide-eyed look. It’s like a perm for your eyelashes.
Lash Tint: This adds color to your lashes, making them appear darker and more defined. It’s perfect if you have light-colored lashes or want to skip mascara.
Extensions: Synthetic lashes are glued to your natural ones for added length and volume. This requires more maintenance but offers dramatic results.
Among these, the lash lift and tint combo stands out because it enhances your natural lashes without adding anything artificial. It’s low maintenance and looks incredibly natural.
Why Choose Eyelash Enhancement Techniques?
You might wonder why you should invest in eyelash enhancement techniques when mascara and eyelash curlers are so accessible. Here’s why:
Time-saving: No more struggling with mascara or curling your lashes every morning.
Long-lasting results: A lash lift and tint can last 6 to 8 weeks, depending on your lash growth cycle.
Natural look: Unlike extensions, these techniques enhance your own lashes without adding bulk.
Waterproof: You can swim, shower, and exercise without worrying about smudging.
Low maintenance: No need for special care routines or frequent touch-ups.
If you’re someone who loves a polished look but hates the fuss, these techniques are perfect. Plus, they’re great for special occasions or everyday glam.
Can I wear mascara after a lash lift?

This is a common question, and the answer is yes - but with some caveats. After a lash lift, your lashes are more delicate because they’ve been chemically treated to hold their curl. Here’s what you should keep in mind:
Wait 24-48 hours: Avoid mascara immediately after the treatment to let your lashes set properly.
Use gentle mascara: Choose a mascara formulated for sensitive eyes or one that’s easy to remove.
Avoid waterproof mascara: It can be harder to remove and may cause lash damage.
Remove makeup carefully: Use a gentle, oil-free makeup remover to avoid weakening the lift.
If you want to keep your lashes looking their best, try to go mascara-free as much as possible. The tint usually provides enough definition to skip it altogether.
How to Prepare for Your Lash Lift and Tint Appointment
Preparation is key to getting the best results from your lash enhancement treatment. Here’s what I recommend:
Avoid eye makeup: Come with clean, makeup-free eyes. This helps the products adhere better.
Skip waterproof mascara: It can be tough to remove and might interfere with the treatment.
Avoid eyelash extensions: If you have extensions, you’ll need to remove them before the appointment.
Discuss allergies: Let your technician know if you have sensitive skin or allergies.
Plan your schedule: The treatment takes about 45 minutes to an hour, so set aside enough time.
By following these steps, you’ll help ensure your lashes lift beautifully and the tint takes evenly.
Aftercare Tips for Long-Lasting Lash Enhancement
Once you’ve had your lash lift and tint, you want to keep those lashes looking fabulous for as long as possible. Here are some simple aftercare tips:
Avoid water and steam: For the first 24-48 hours, keep your lashes dry to let the lift set.
Skip eye creams: Some creams can break down the lift solution.
Be gentle: Avoid rubbing your eyes or using eyelash curlers.
Clean lashes carefully: Use a gentle cleanser and avoid oil-based products.
Brush your lashes: Use a clean spoolie brush to keep lashes neat and separated.
Following these tips will help you enjoy your enhanced lashes for weeks. Plus, it keeps your natural lashes healthy and strong.
Why Brow Sketcher is Your Go-To for Lash Enhancements in Singapore
If you’re in Singapore and looking for expert lash enhancement services, Brow Sketcher is a top choice. They offer professional lash lift and tint treatments that deliver stunning, natural results. Here’s why I trust them:
Experienced technicians: Skilled professionals who understand lash health and beauty.
High-quality products: Safe, effective solutions that protect your lashes.
Comprehensive training: They empower aspiring PMU artists with expert knowledge.
Customer-focused: Personalized consultations to meet your unique needs.
Convenient location: Easily accessible in Singapore for your beauty appointments.
Choosing the right salon makes all the difference. Brow Sketcher combines expertise with a passion for beauty, ensuring you leave feeling confident and radiant.
Ready to Transform Your Look?
Eyelash enhancement techniques like the lash lift and tint offer a simple, effective way to boost your natural beauty. They save time, look natural, and give you that extra confidence boost every day. Whether you’re preparing for a big event or just want to simplify your beauty routine, these treatments are worth considering.
Remember, the key to stunning lashes is choosing the right professional and following proper aftercare. If you’re curious, check out Brow Sketcher’s lash lift and tint services and see how they can help you transform your look.
Go ahead - treat yourself to beautiful lashes that speak volumes without saying a word!


Comments